


 Lowest Price Policy^
 Free delivery* with
 4 hour Click & Collect
 Easy in-store Returns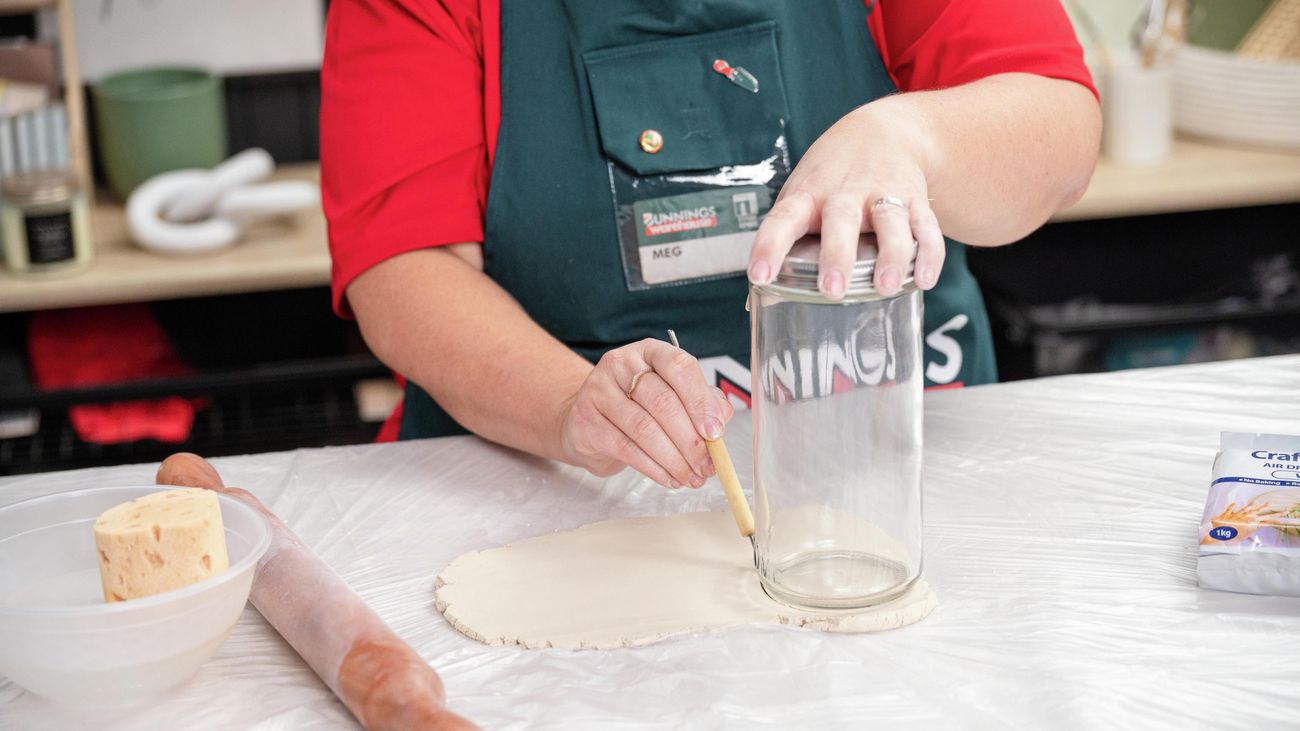


Marketplace
Delivery Included


How to make clay gifts
Air-dry clay is super easy to work with and is great fun no matter your skill level. In this step-by-step guide, we’re going to show you three crafty trinkets you can make by yourself, with friends or even with kids! You’ll learn how to make a candle holder, a bowl and a jewellery holder.
Safety tip: Always wear the appropriate safety equipment (safety glasses, ear muffs, gloves and mask, for example) and always follow the instructions for the product or equipment.
Prepare your equipment and surface area
Clay is a fun craft, but it can be messy. Lay down a drop sheet to protect your work surface from clay residue and place down the equipment you’ll need for your craft activities, such as modelling tools, a rolling pin, sponge and a bowl for water.
Choose an air-dry clay that’s easy to work with and dries to a hard, durable finish. You need to consider the crafts that you’re making to ensure you have enough on hand. Follow the instructions on the package to prepare the clay.

Knead and roll clay

Trinket 1. Candle Holders
To form the base of your candle holder, use a glass jar as a guide and place it onto the clay. Cut around it with a craft knife to form a circle of clay. Smooth down any raised edges with your fingers and a damp sponge. You can customise your candle holder by using different sized jars and forming different edges, such as scalloped or crimped.
Using the remaining rolled out clay, measure out a rectangle approximately 6 cm long and at least 2 cm wide. This will create the holder for your candle. The height you choose will change the look of your candle holder, so have fun with it!
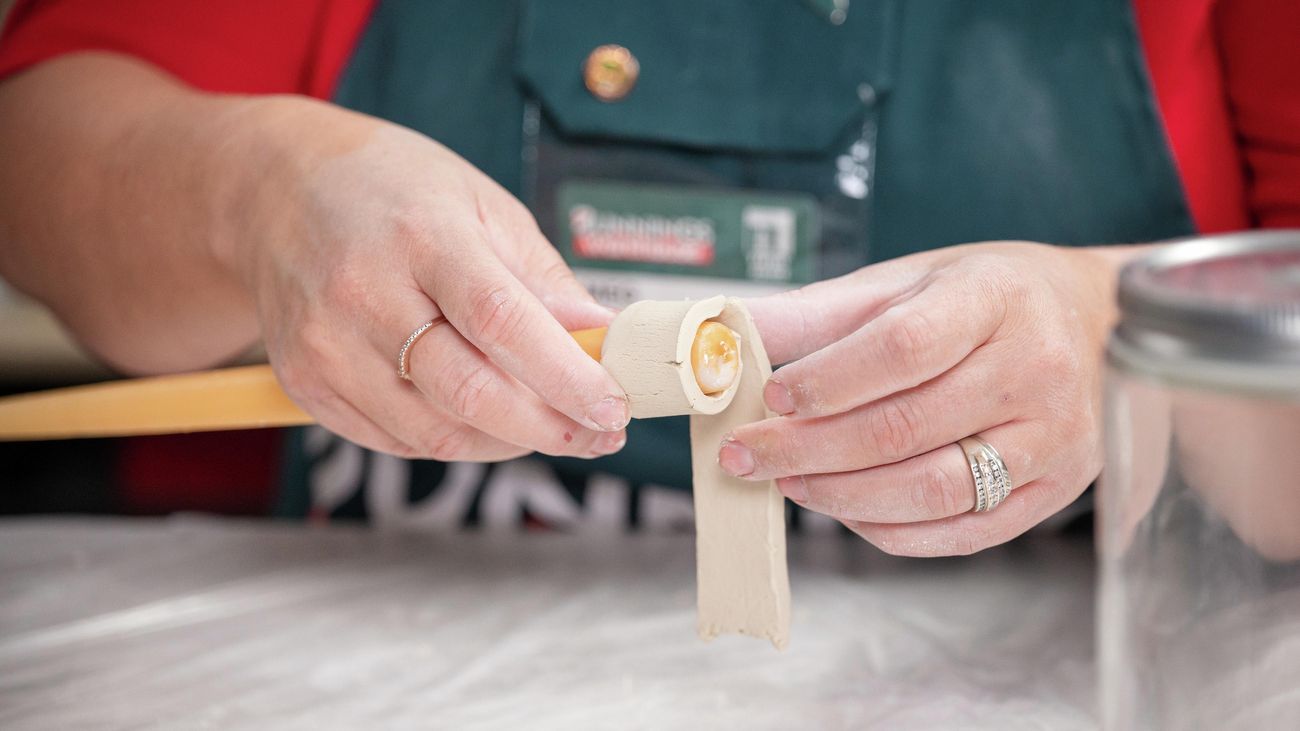
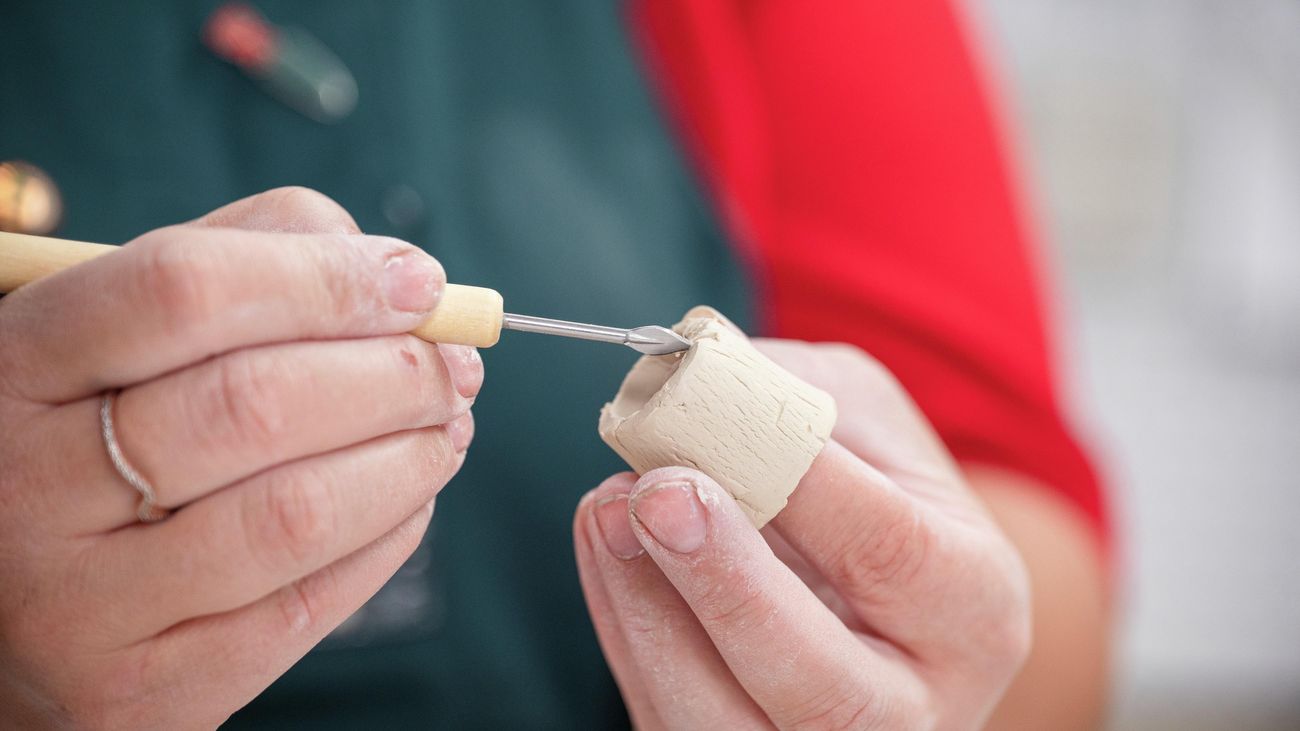
Wrap your candle with the rectangular piece of clay and cut off any excess, leaving a few millimetres for joining. The clay will shrink a little as it dries, so wrap loosely to counter this. Join the two ends together, score each side and dab with a little water to act as a glue. Press it together and smooth down any bumps and cracks with your finger, leaving you with a clay ring.
Lightly place the clay ring on to the base and mark out its placement. Remove the clay ring and score one side. Score the marked out area on the base too.
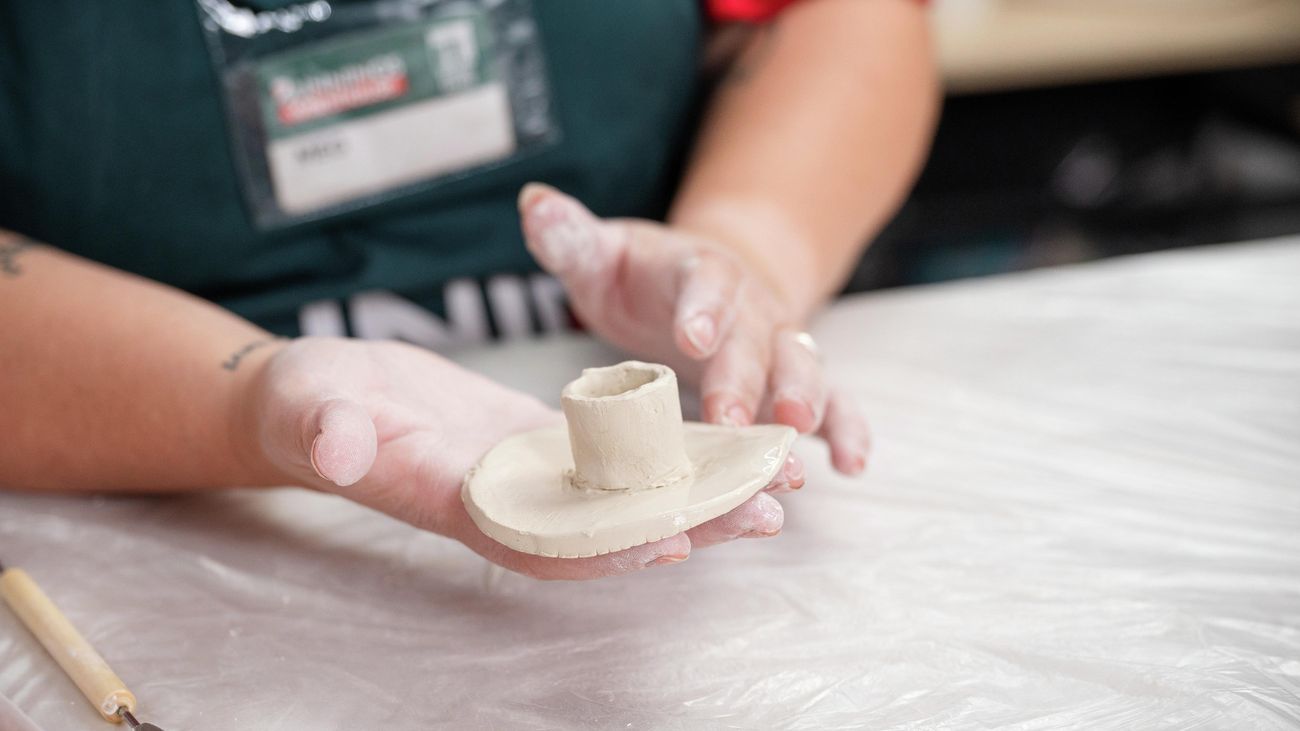
Use a dab of water and join the ring to the base, using a clay tool to press and join the edge of the ring to the base. Smooth out any areas with your fingers and a wet sponge until you’re happy and then set aside to dry.
Trinket 2. Jewellery Holder
Use a bowl or other round object as a guide and place it onto the clay. Cut out a circle to create the base.
To line the edge of your jewellery holder, roll small balls approximately 1-2 cm in diameter. You’ll need enough to outline the base of your jewellery holder.
Using a clay tool, score around the edge of your jewellery holder base where the balls will sit.
Dab some water on to the scoring and attach each ball by pressing it down onto the base gently.
Smooth down any indents or rough edges and fix up the shape of the balls with your fingers and a wet sponge if needed, then set it aside to allow it to dry completely.
Trinket 3. Clay Bowl
Place the clay into a bowl or mould of your choice and use your hands to ensure it’s snug against the sides. Trim off any excess using a clay tool, this will ensure the top edge of your bowl will be even and smooth. If you have any holes, patch them up with a little clay and smooth it down with your hands.
Use a damp sponge to smooth down any rough bits until you’re happy and then allow your bowl to dry.
Now for the fun part! Once your clay pieces are completely dry, you can use acrylic paint to personalise each item however you like. You can try out different patterns and colours, and add finer details such as glitter or confetti. Once you’ve finished decorating the pieces, leave them to dry thoroughly.
And there you have it! Three super easy and super fun D.I.Y. clay trinkets that you can make for your home or for a loved one to enjoy!
Feeling inspired to create your own clay crafts?

Asbestos, lead-based paints and copper chromium arsenic (CCA) treated timber are health hazards you need to look out for when renovating older homes. These substances can easily be disturbed when renovating and exposure to them can cause a range of life-threatening diseases and conditions including cancer. For information on the dangers of asbestos, lead-based paint and CCA treated timber and tips for dealing with these materials contact your local council's Environmental Health Officer or visit our Health & Safety page.
When following our advice in our D.I.Y. videos, make sure you use all equipment, including PPE, safely by following the manufacturer’s instructions. Check that the equipment is suitable for the task and that PPE fits properly. If you are unsure, hire an expert to do the job or talk to a Bunnings Team Member.


