Most waterproofing membranes are part of a system. This system usually involves priming, detailing and adding a topcoat. Waterproofing systems provide long-lasting protection against water damage, they prevent the accumulation of mould and mildew, and they keep protected surfaces looking great.
Waterproofing projects – whether indoors or outdoors – usually consist of four simple steps.
Step 1: Substrate installation
Ensure that the surface being waterproofed has been installed as per manufacturer’s instructions and is sound, smooth, clean and dry.
Step 2: Priming
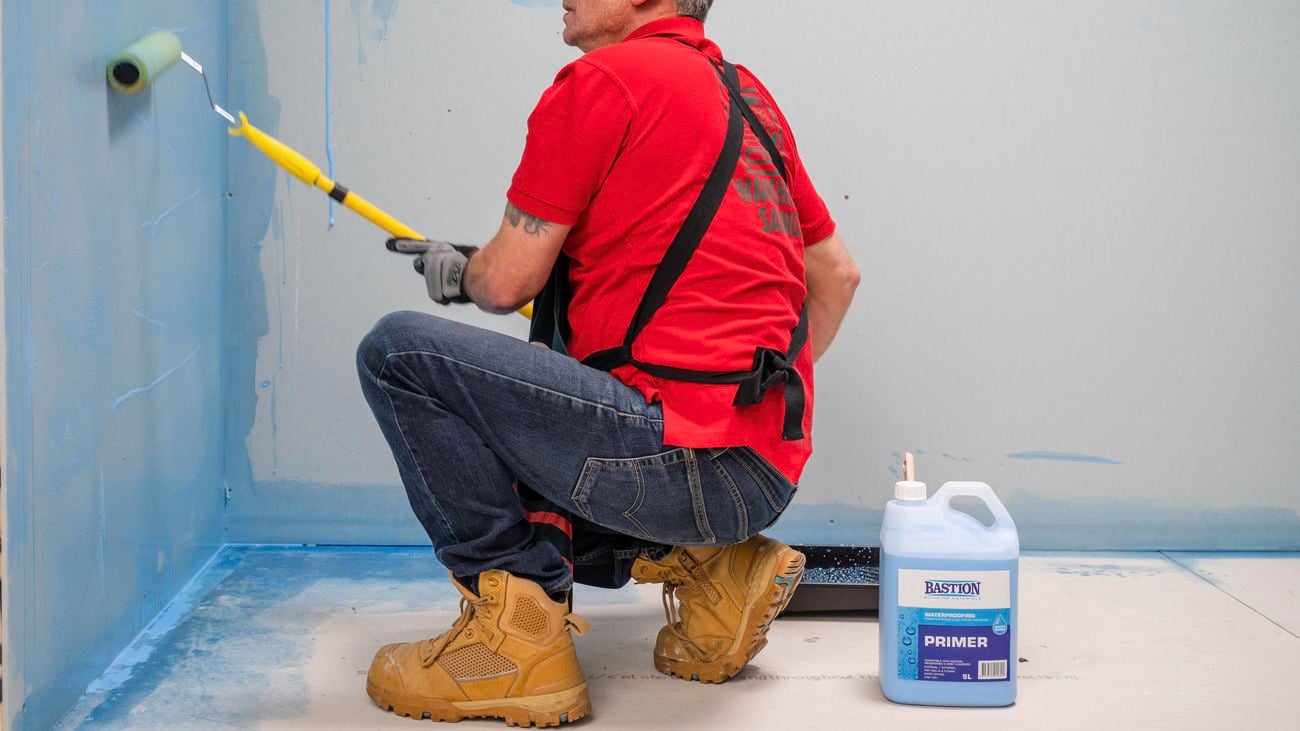
Priming is done before applying the waterproofing membrane to ensure that the surface being waterproofed is in the best possible condition prior to coating.
Similar to painting a wall, if the surface is dusty, the membrane may peel off; if the surface is damp, the membrane may blister or bubble.
There are a range of primers available, so just ensure you choose the one most suited to your surface’s condition
Tip: Some premium membranes can be applied to surfaces in good condition without the need of a primer. Read and follow the product’s instructions or speak with one of our helpful Team Members in-store to learn more.
Step 3: Joint detailing and bond breaking
Waterproofing membranes are designed to be permanently flexible so they can accommodate normal building movement without cracking or tearing. Most building movement occurs at wall-to-wall joints, wall-to-floor joints and around surface penetrations like pipes for taps and drains, so it’s important to take extra care with these areas.
The use of a bond breaker allows joint movement to happen naturally, independent of the waterproofing membrane, ensuring long-term, leak-free performance. Bond breakers can be a silicone or polyurethane sealant, or preformed bond breaking corners and tapes.

Step 4: Membrane application
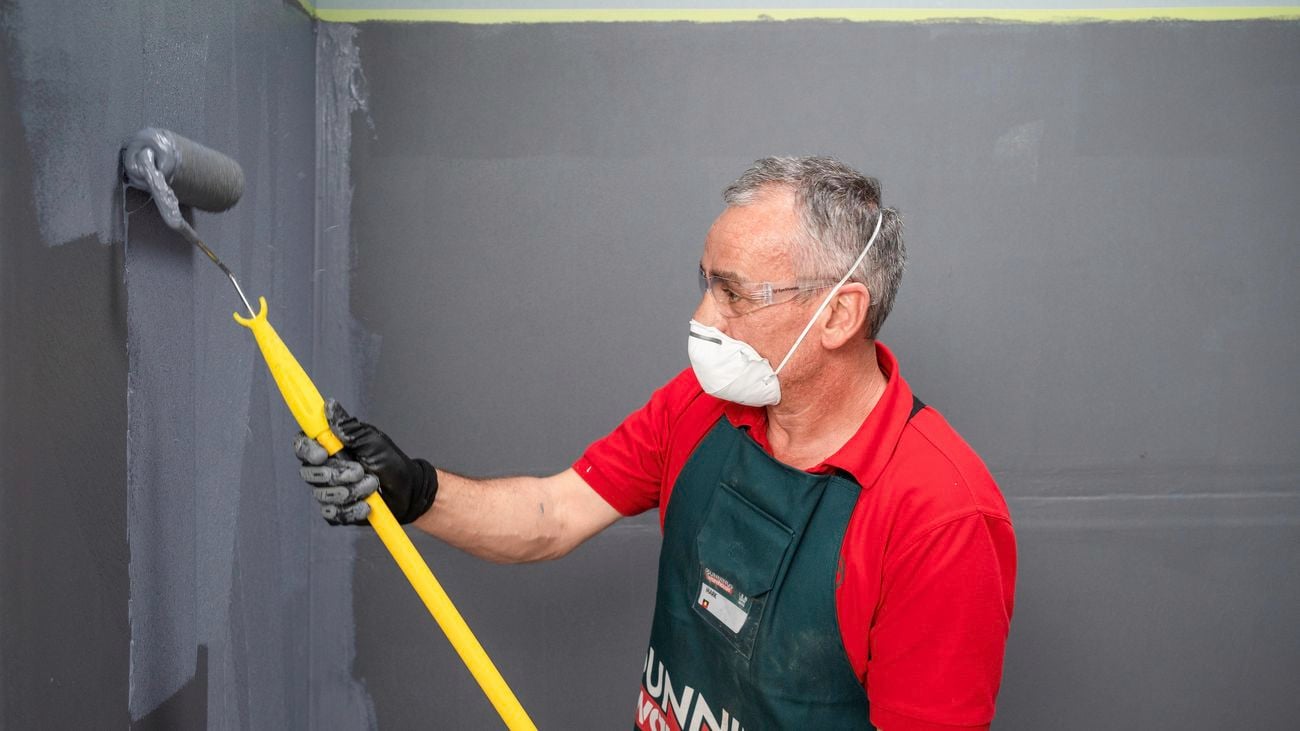
Applying the waterproofing membrane is the final step. The key is to apply enough membrane, so read and follow the manufacturer’s recommendations for coverage to guarantee the right thickness. (Waterproofing membranes are applied more than 10 times as thick as a standard wall paint.)
Apply in even coats using a paint brush or roller, taking extra care in the corners. Once dry, make sure the dried membrane doesn’t have any cracks or damage before over-coating, tiling over or backfilling against to ensure your project will be leak-free for years.
Tip: Good airflow helps with drying times, so an open window or fan can help speed things along.


 Lowest Price Policy^
 Free delivery* with
 4 hour Click & Collect
 Easy in-store Returns


 Get Inspired
 Ask Questions
 Share Projects